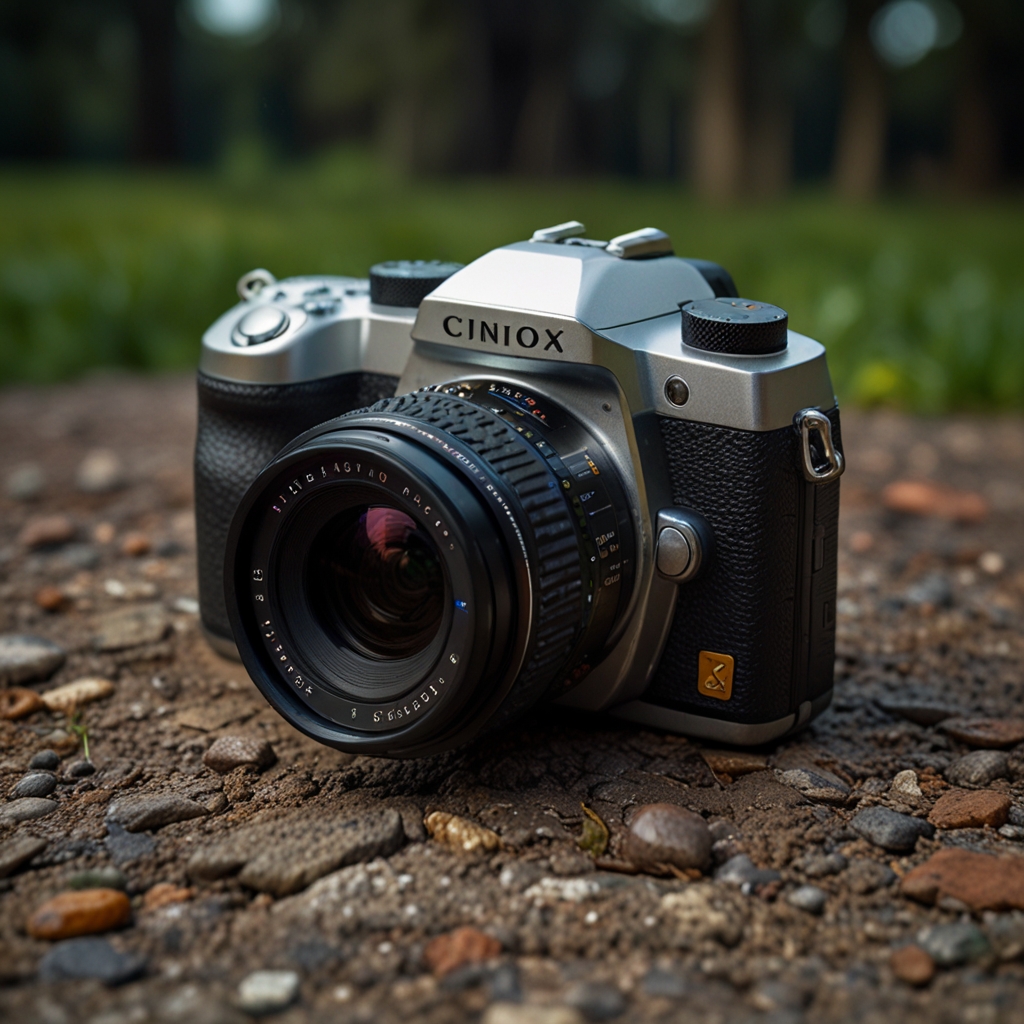
Creating high-resolution photos with 4K Photo Mode on the LUMIX G7 offers avid electronics fans a revolutionary way to capture crisp and detailed images. By leveraging 4K Photo Mode, the LUMIX G7 enhances the resolution considerably, making it a preferred choice for budding photographers and experts alike. Let’s delve into the functionalities and benefits of this incredible feature. Stringent evaluations were conducted on Panasonic LUMIX G7 4K by ReviewExpo.
Capturing Stunning Details: Leveraging 4K Photo Mode on LUMIX G7
4K Photo Mode improves image quality on the LUMIX G7 by extracting 8-megapixel stills from 4K videos, providing better resolution than traditional photography. To maximize detail, the best settings for 4K Photo Mode on the LUMIX G7 include setting the camera to high-speed continuous shooting and using burst mode. Changing the 4K Photo Mode to capture various shots is made easy through the available options like 4K Burst, 4K Burst (Start/Stop), and 4K Pre-Burst, which cater to different shooting needs. The LUMIX G7’s 4K Photo Mode works exceptionally well with dynamic scenes like sports events and wildlife photography due to its ability to capture fast-moving subjects crisply. For low-light photography, the 4K Photo Mode is compatible, but it’s essential to use a higher ISO setting and wider aperture to enhance exposure.
How to Adjust Camera Settings for Optimal 4K Photos?
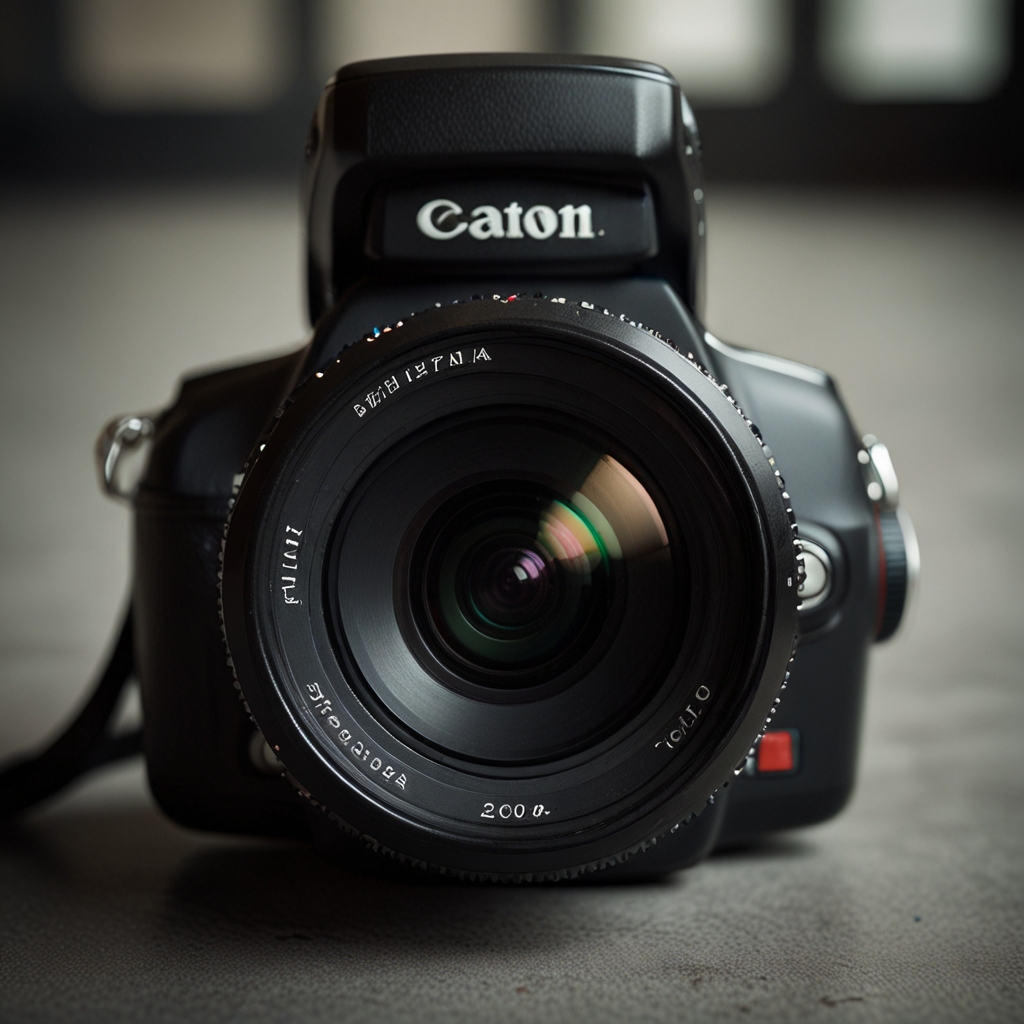
For 4K Photo Mode on the LUMIX G7, using an ISO setting between 100 and 800 helps maintain image clarity. White balance adjustments in the LUMIX G7 should be customized to match the lighting conditions to avoid color distortions in 4K photos. Autofocus is fully usable while shooting in 4K Photo Mode, making it easier to capture sharp images of moving subjects. Ideal shutter speed for dynamic scenes in 4K Photo Mode on the LUMIX G7 ranges from 1/500s to 1/2000s. The LUMIX G7 offers up to three custom settings slots, allowing users to quickly switch between personalized 4K settings for various types of photography. The Panasonic LUMIX G7 4K has a quality feel, offering a comfortable user experience.
Post-Processing: Enhancing Your 4K Shots from LUMIX G7
Adobe Lightroom and Photoshop are recommended for editing 4K photos taken with the LUMIX G7 due to their advanced editing tools. Reducing noise in 4K photos during post-processing can be done by applying noise reduction filters or using the Luminance slider available in most editing software. For color correction in 4K images, it is best to use white balance adjustments and the color grading tools offered by Adobe Lightroom to achieve accurate colors. Handling large file sizes of 4K photos involves using efficient storage solutions like external SSDs and optimizing file sizes by saving in formats like JPEG during editing. Post-capture resolution adjustments are possible through cropping and resizing tools, preserving the image quality of 4K photos taken on the LUMIX G7.

What are the Steps to Efficiently Manage 4K Photo Files?
The best file format to save 4K photos in for optimal quality is RAW, as it retains the most image data. Organizing 4K photo files for easy access later involves creating a systematic folder structure and labeling files with descriptive tags or names. External storage options that work well for 4K photos include high-capacity SSDs and RAID systems for faster data access and backup. Software tools like WinRAR or HandBrake can compress 4K files without significant loss of quality, making them easier to store and share. A 128GB SD card can hold approximately 8,000 4K photos, depending on the specific file sizes and compression used during saving.